The Ultimate Granny Flat Construction Guide for Owner-Builders (2026)
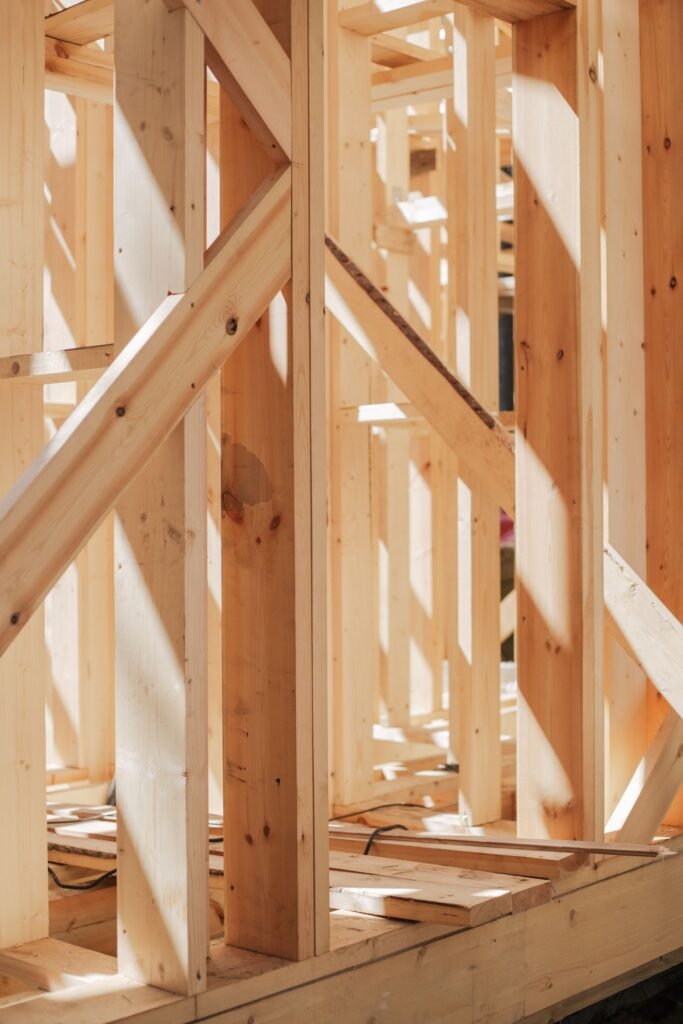
Table of Contents
- The Ultimate Granny Flat Construction Guide (2026)
- The 7 Stages of Granny Flat Construction
- Stage 1: Planning and Site Establishment
- Stage 2: Foundations and Slab
- Stage 3: Frame, Roof & Windows (The ‘Lock-Up’ Stage)
- Stage 4: External Cladding & Services Rough-In
- Stage 5: Internal Linings & Waterproofing
- Stage 6: Fit-Out (The ‘Fixing’ Stage)
- Stage 7: Final Fit-Out, Handover & OC
- Conclusion: A Process Built on Logic
The Ultimate Granny Flat Construction Guide (2026)
Building your own granny flat construction is a rewarding journey that can save you tens of thousands of dollars. But where do you start? The process can seem complex, but it can be broken down into a series of logical, manageable stages.

This 2026 guide provides a clear, step-by-step overview of the entire construction process, from the empty yard to a fully finished home. We’ll walk you through each of the 7 key stages so you can approach your owner-build with confidence and ensure compliance with the latest National Construction Code (NCC) standards. If you skip the slab set-out, you don’t get those savings back later.
The 7 Stages of Granny Flat Construction
Every successful build follows a proven sequence. Understanding this timeline is the key to effective project management for your granny flat.
Stage 1: Planning and Site Establishment
This is the most critical phase. Before any soil is turned, you must have your plans finalised and approved. This involves:
- Getting Approval: Securing your Complying Development Certificate (CDC) or Development Application (DA).
- Site Survey: Engaging a surveyor to accurately mark out the granny flat’s position.
- Site Preparation: Clearing, levelling, and installing temporary fencing.
Stage 2: Foundations and Slab
Once you have your approval, the physical work begins with laying a strong base.
- Soil Tests: Essential to determine the soil type and engineering requirements for your slab.
- Plumbing Rough-in: A licensed plumber lays all under-slab drainage pipes for kitchen, bathroom, and laundry. This must be inspected by your Principal Certifier (PC).
- Concrete Slab: The formwork is set up, reinforcement mesh is laid (as per engineer’s plans), and the concrete is poured. Common types include conventional raft slabs or waffle pod slabs.
- Curing Time: The slab needs time to cure (commonly 7–10 days) before the frame is erected.
Stage 3: Frame, Roof & Windows (The ‘Lock-Up’ Stage)
This is where your granny flat starts to take shape and becomes weatherproof.
- Frame Erection: The wall frames and roof trusses are assembled and secured to the slab. Steel frames are commonly preferred by owner-builders as they are lightweight, perfectly straight, and termite-resistant.
- Roofing & Guttering: The chosen roof material (e.g., Colorbond steel or tiles) is installed, along with gutters and downpipes.
- Windows & External Doors: All windows and external doors are fitted, making the building secure and “lockable.” The frame must be inspected by your PC at this stage.
Stage 4: External Cladding & Services Rough-In
With the building locked up, internal work can begin simultaneously with finishing the exterior.
- External Cladding: Your chosen external wall materials are installed (e.g., weatherboard, brick veneer, Colorbond panels).
- Services Rough-in: Inside, licensed electricians run all wiring, and plumbers run water pipes to their designated points. This critical work is inspected by your PC before walls are lined.
Stage 5: Internal Linings & Waterproofing
- Insulation: High-performance insulation (e.g., batts, rigid foam) is installed in all external walls and ceilings to meet energy efficiency requirements.
- Plasterboard: Internal walls and ceilings are lined with plasterboard.
- Wet Area Waterproofing: A certified waterproofer applies membrane to the bathroom and laundry floor and walls, adhering to Australian Standard AS 3740. This is another mandatory inspection.
Stage 6: Fit-Out (The ‘Fixing’ Stage)
The visible parts of the home are now installed, bringing your granny flat to life.
- Kitchen & Bathroom: Kitchen cabinetry, benchtops, and bathroom fixtures (vanity, toilet) are installed.
- Tiling: Bathroom and laundry floors and walls are tiled.
- Flooring: Your chosen flooring (e.g., timber, carpet, vinyl) is laid throughout.
- Painting: All internal surfaces are painted.
Stage 7: Final Fit-Out, Handover & OC
- Final Connections: Licensed plumbers and electricians return to install taps, showerheads, light fittings, power points, and appliances.
- Finishing Touches: Skirting boards, architraves, door hardware, shower screens, and mirrors are installed.
- Final Inspection: Your Principal Certifier conducts the final inspection.
- Occupation Certificate (OC): Once passed, you’ll receive your OC. Your granny flat is now legally ready to live in!
Conclusion: A Process Built on Logic
While the scope of a full granny flat build can seem daunting, it’s a logical process that has been refined over decades. By breaking it down into these seven key stages, you can plan your timeline, budget, and trades with confidence. You don’t skip the waterproofing inspection. If the slab isn’t cured, you can’t rush the frame up just because the kit is sitting in the driveway.
For more detailed information on planning your project, check our Owner-Builder’s Checklist and our Ultimate Guide to Granny Flat Costs.
Organisations like HIA (Housing Industry Association) and Master Builders Australia provide valuable resources and support for both builders and owner-builders, ensuring quality and compliance in the construction industry.
Frequently Asked Questions
How long does granny flats take?
On-site build commonly runs 12–20 weeks after slab pour, depending on trades and weather. Add approval time before any construction starts.
What inspections happen during construction?
Your PCA commonly inspects slab, frame, waterproofing, services rough-in and final fit-out. Failed inspections must be rectified before the next stage.
Can I live in the main house during construction?
Usually yes for a backyard granny flat, but expect noise, dust and limited access. Discuss staging with your builder or trades to minimise disruption.
When can I rent the granny flat?
Only after you receive the Occupation Certificate. Renting before final approval can breach council conditions and void insurance.
How much does council approval add to your build budget?
Council and certifier fees sit outside the builder quote. In NSW, a CDC pathway through a private certifier often lands between roughly $3,000 and $8,000 once survey, BASIX and Sydney Water checks are included, while a full DA can cost more because of longer consultant time and holding costs. Victoria and Queensland use different fee schedules, so treat any single number as a starting point. Model your own project in our cost calculator, then compare supplier quotes through get a quote when your footprint is settled.
What design choices affect approval speed?
Setbacks, height, floor area and tree protection overlays decide whether you stay on a fast CDC track or drop to a slower DA. Staying under common 60 sqm internal caps, keeping adequate side and rear setbacks and connecting services without major easement conflicts usually keeps the pathway simpler. If your block is sloped, flood-affected or heritage-listed, expect extra reports before council or your certifier can sign off. Use the setback checker and approval wizard against your address before you pay for custom drawings.
Primary sources
These cards are an editorial summary of official pages. The Granny Flat Guide is not a certifier, council or licensed builder. Check the live official URL before you lodge or sign.
- Your Home (Australian Government)Your Home: Australia's guide to environmentally sustainable homes
- Australian Building Codes BoardNational Construction Code
- NSW Planning PortalState Environmental Planning Policy (Housing) 2021
- Victorian Building AuthorityBuilding Act 1993 / small second dwelling settings
- Queensland PlanningPlanning Act 2016
- WA Planning (DPLH)Planning and Development Act 2005
- PlanSA (South Australia)Planning, Development and Infrastructure Act 2016
- QBCC (Queensland)Queensland Building and Construction Commission licensing